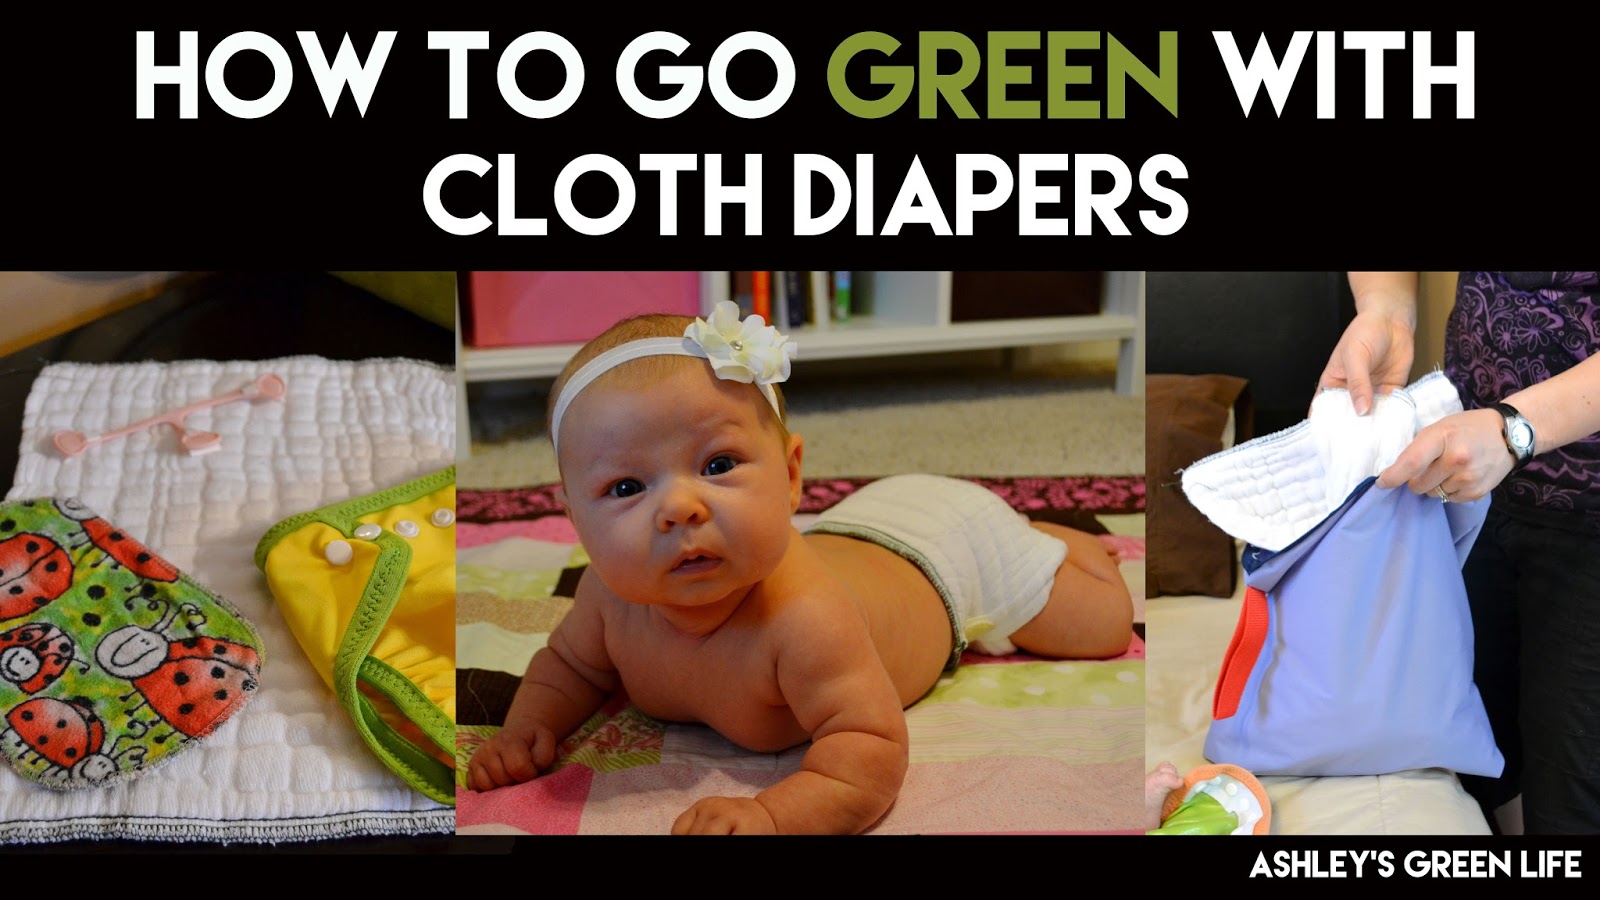
So it probably doesn't take a rocket scientist to guess where I stand on the "diaper debate" between cloth and disposable diapers, since my blog is titled, "Ashley's GREEN Life". But honestly, it wasn't always that way. Before and during my pregnancy, I was pretty set on using a "greener" style of disposable diapers called gDiapers, which have a reusable cover and a biodegradable insert (which you can flush down the toilet or compost.
 |
| Little Avery in her cloth diaper. |
In the past, I had stayed away from cloth diapers for the following reasons (maybe you can relate):
- I did not want to have to clean them.
- I had no idea where to get started in shopping for cloth diapers. There were so many decisions to make: pre-folds or pocket diapers, bumGenius or FuzziBunz, Velcro or snaps? Yikes!
- I worried that if I used a diaper cleaning service that they would use harsh detergents or chemicals to clean the diapers that would not be good for my baby's skin or the environment.
- On top of that, if I used a cleaning service, I worried it would be really expensive.
 |
| "Like my cloth diapers?" |
Here is how they calmed my "fears" of cloth diapering that I mentioned above:
- Cleaning the diapers? They clean them (score!).
- What cloth diapers to buy? They provide the diapers, covers, and wipes meaning I don't have to do any shopping or make any large investment into buying my own supply of cloth diapers.
- Harsh detergents? Nope, they use bio-degradable soaps and high efficiency laundry machines.
- Cost? It's about $22.50 a week for the service (or $120-130 per month) which includes a weekly pick up of dirty diapers and drop off of clean diapers. Not bad if you figure the you'll probably be spending something close to that on disposables and wipes per week. Here's more about the cost on their website.
 |
| The pre-fold diapers. Here's similar ones on Amazon. |
 |
| Sometimes they are even tie-dyed! |
 |
| I store then in a dresser drawer by our bed where we change them. |
As well as: a set of flannel wipes that are handmade and in fun patterns, 5 water-proof diaper covers (these keep the cloth diaper portion from getting the baby's clothes wet or dirty), and a Snappi (a little rubber/plastic piece that holds the cloth diaper together...basically takes the place of safety pins that were used back in the day to hold together cloth diapers).
 |
| The cloth wipes are also stored in a dresser drawer with our set of diaper covers for the week. |
They make it pretty simple don't they? Now why turn to cloth diapers in the first place? Clearly cloth diapers are great for the environment in how they decrease landfill waste, but one might argue that you have to use an awful lot of water to wash and reuse them. That's true, but a key word in that statement is reuse! You can get many uses over many years out of a single cloth diaper, whereas with a disposable it's just that...you use it once and then you dispose of it. And on top of this, disposable diapers take years and years to breakdown (if ever). I read once that if the children who came over with Christopher Columbus wore disposable diapers, those diapers would still be around today...since they plastic would never break down!!
Check out this video about the breakdown of a disposable diaper (or lack there of). This video also highlights the gDiapers I mentioned above, which are still a great option if cloth is not something you want to attempt.
Aside from the environmental affect, disposable diapers also contain a number of harmful chemicals and dyes that may be making diaper changes easier on parents (because they are super absorbent), but they sure aren't helping babies. One chemical called, sodium polyacrylate, is added to disposable diapers to make them "super absorbent" but it can also cause skin irritations and rashes, and it was banned from tampons back in the 80's because of it's link to Toxic Shock Syndrome (read more here). Another little chemical in diapers is dioxin, a by-product of them being bleached. Dioxin is a cancer-causing chemical and is banned in most countries (obviously not the US). Last is chlorine, which gets them nice and bright...and at the same time is "particularly threatening to infants." Although some may say the effect of these chemicals is small, it was not something I was willing to take my chances on with my girls, which is why I chose to use cloth diapers.
Okay, okay, time for me to get off my "soap box" or "diaper box" I should say. Let's get past the facts and the debate and onto the real deal.
Let me show you just how easy cloth diapers can be and how we make them work for us in this week's video....
Here are the steps of a typical "green" cloth diaper change...
1. Gather your supplies.
 |
| Fabric wipe, cloth diaper, diaper cover, and Snappi. |
2. Place a clean cloth diaper down on the changing surface. Sometimes this is needed, other times it isn't, but it's better to have something down in case she decides to go again...which happens quite often when she talks to her buddy Panda!
 |
| This is Avery back when she was around 2 months old! |

3. Next I take off the diaper cover, and then the dirty diaper.

4. The dirty diaper now goes in the medium-size wet bag that I keep and am in charge of washing each week. If it's a solid poop we flush it down the toilet. If it's a softer poop we shake or wipe off what will come off.

5. Next, I grab a cloth wipe. I use this Prince Lionheart Wipes Warmer...it's pretty awesome! I don't necessarily care for the fact that the wipes are warm (although I bet the girls did), I just like that I have a stash of already WET wipes. All I do with these fabric wipes is run a stack of them under some water, wring them out a bit, then stick them in the wipe warmer...then they are already to go! Again, all I use on these cloth wipes is WATER! No chemicals, lotions, perfumes, anything!!!
 |
| Prince Lionheart Wipes Warmer with cloth wipes |
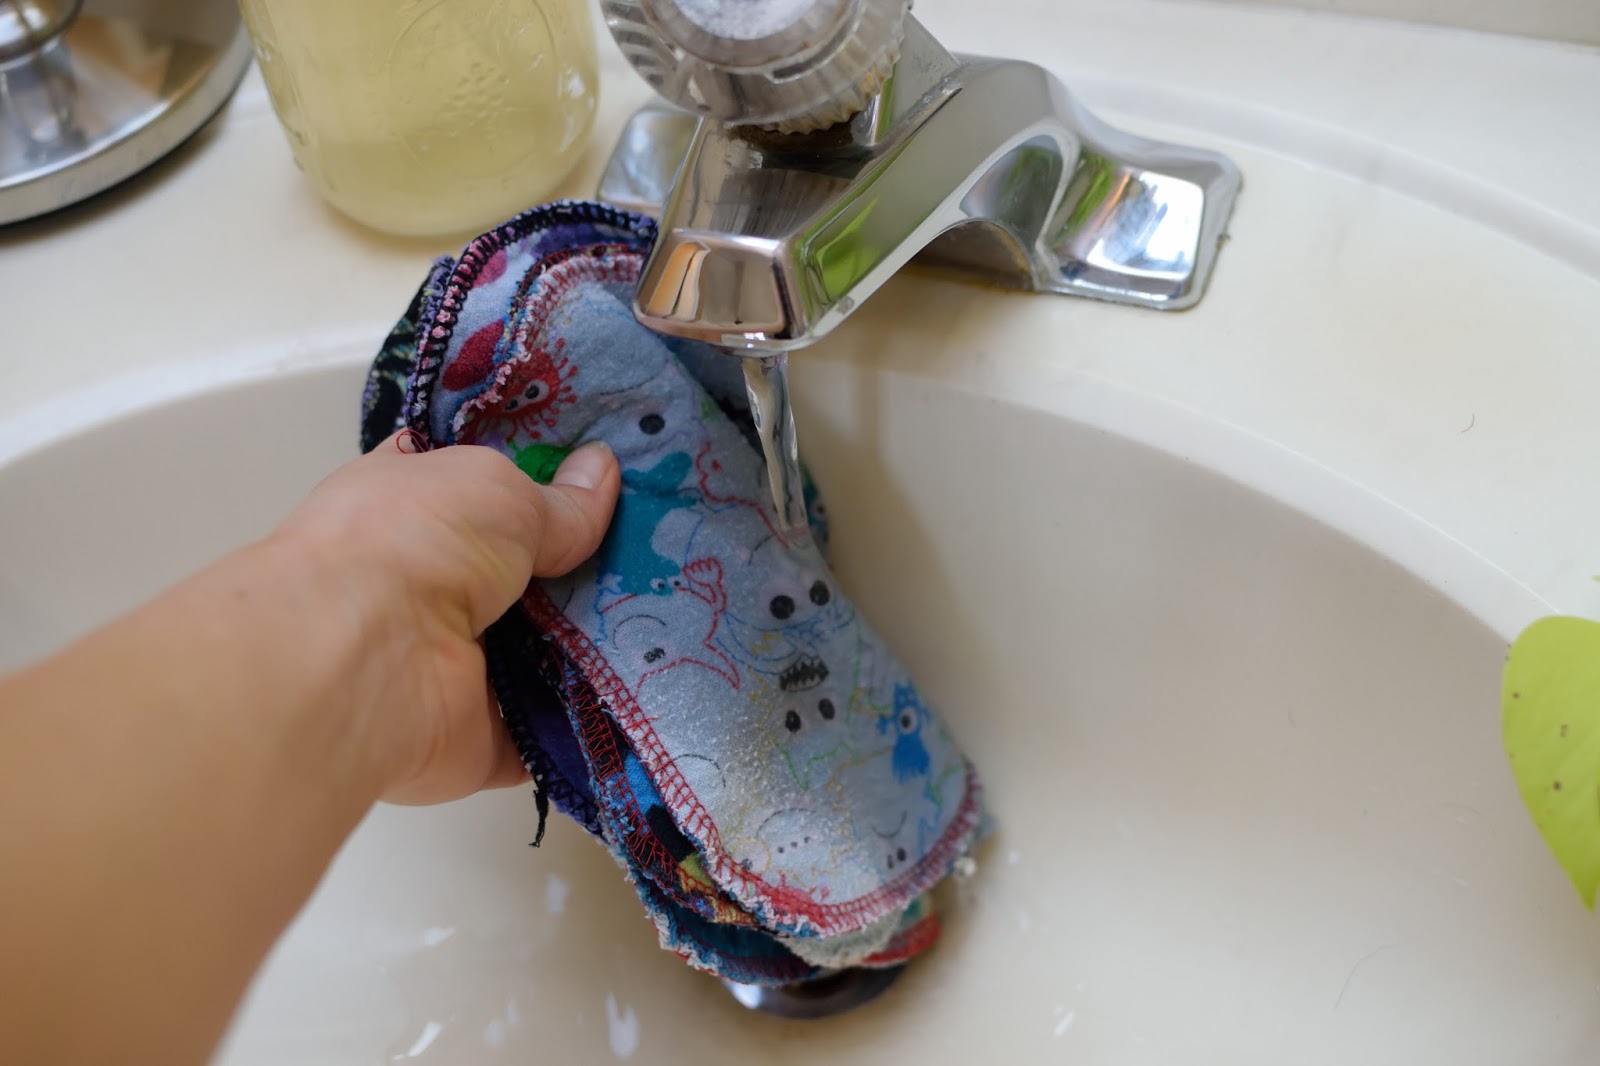 |
| Getting the wipes wet with water. |

7. Now it's time to put on the clean diaper. This is where the one she's been laying on comes in handy. I simply fold the sides in a bit and pull it up towards her belly button.

8. Pull the back corners of the diaper to the front and hold them there.

This is the part she doesn't like sometimes. If she had it her way, she'd be naked all day!
 |
| "Oh Mom! Not another diaper!" |
9. Next, I use the Snappi to connect the two sides of the diaper together.

 |
| You can see the Snappi connects the left and right sides of the diaper. |

 |
| In the morning we always toss the cover from the day before (that they wore to bed) into the laundry to wash. |
 |
| Bad Idea! The diaper is sticking out and will probably leak. |
 |
| Good idea! No diaper is sticking out=less likely to leak. |
 |
| All done! |
 |
| All full and ready to be emptied. |
 |
| I keep the large wet bag in my garage. It doesn't smell too horribly bad, but it's not something I'd want right next to my bed. |
 |
| I'm smiling because I don't have to clean these diapers! |

One last tip we've learned in the years of doing cloth diapering is to do a "double up diaper" at nighttime. This is where we put two cloth diapers on instead of one, which helps keep them from getting too wet at night. Obviously if they poop during the night, we change them, but if it's just pee we wait until morning.
 |
| Sometimes we fold one in the middle so it won't be as bulky. |
 |
| It still makes it pretty big though, but it is much more absorbent than just one. |
 |
| We've always joked that it gives them a "big booty diaper" as we call it. |
Also, in case you're wondering what we do when swim season rolls around, here's a post I did about how we use a reusable swim diaper.
 |
| Reusable Swim Diaper for Kids |
Has anyone else ever used cloth diapers or a diapering service before? What was your experience like? Do you have any favorite types of cloth diapers, tips or tricks? Feel free to post below!

The author
