
With that in mind I remembered back to when I painted my cabinets before and I figured, I've done it before, I can do it again. So I contacted Rustoleum and they sent me a light kit to try in my kitchen. Then I watched and re-watched my video from the first time I painted my cabinets to remind me of what to do and then I set off to do it.
Here's a sneak peek at the transformation...
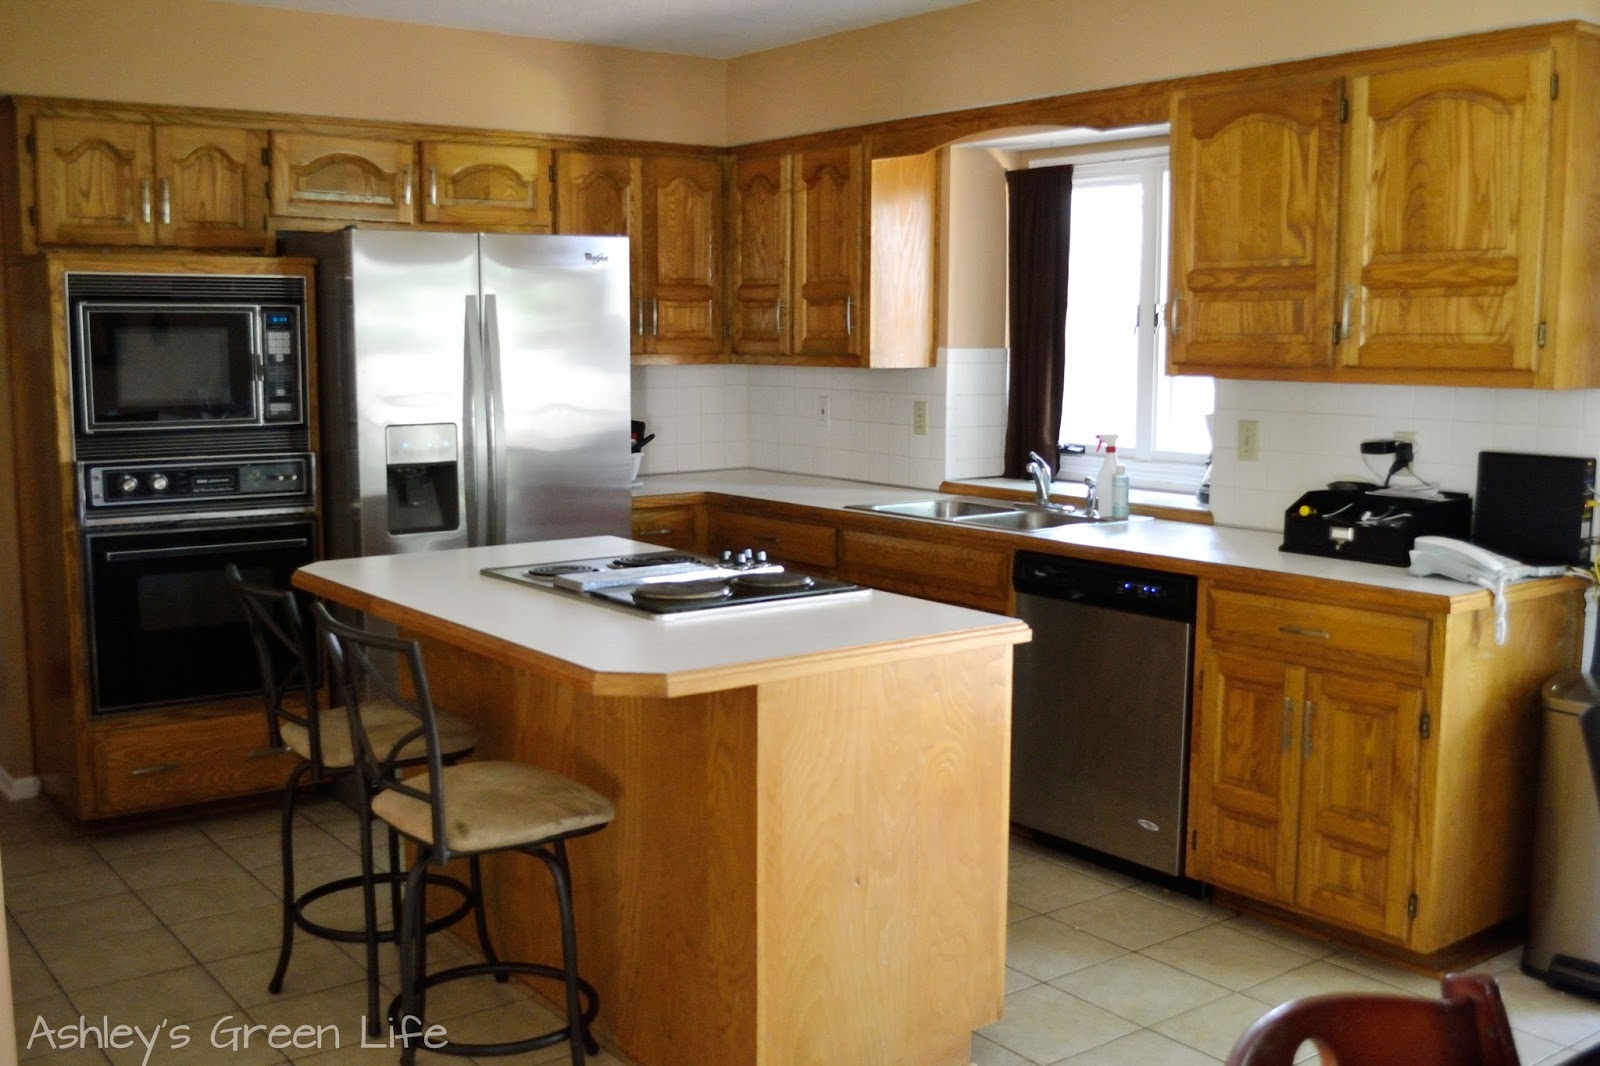 |
| First it was oak... |
 |
| Then it was dark... |
 |
| And now it's white! |
Step 1: Pre-wash the cabinets to remove the finish
Step 2: Base Coat
Step 3: Glaze Coat (optional, I skipped this one)
Step 4: Final Glaze coat
Now although this product doesn't claim to be green, here's some ways I think it is...
1. Decreases potential waste going to the landfill because you get to keep the current cabinets you already have.
2. Helps save energy and materials that would have been required to manufacture, transport, and install a whole new set of cabinets
2. Helps save you some green ($150 compared to $10,000+) that you could spend updating your appliances to Energy Star Certified appliances.
Don't get me wrong, I wish they were a few less chemicals in the products, but to make the drastic changes I did to my cabinets and not have to replace them makes it worth it to me. Hard core greenies, this may not be for you.
You can purchase this kit online or at your local hardware store, but just make sure you get it tinted before you leave. Some kits you buy online are already tinted so you should be set. In case you're curious of the price, it costs about $79 for the Small Kit. To paint my cabinets white, I decided on the Linen color, but there's a variety of colors included in the "Light Kit". And on the flip side, if you would like your cabinets to be darker, there's a variety of dark colors that you can find in their "Dark Kits" too.
Supplies needed for the project:
 |
| From left to right: 2 drop cloths for all the cabinets to go on, 1 pair of rubber gloves (to wear during the first step), a drill to remove all the hardware and cabinets Rustoleum Cabinet Transformations Kit, various sized roller brushes and a paint tray (I later decided not to use these, but you could use a roller brush if you like) 2-2" synthetic angled brushes, 2 smaller paintbrushes, 2-3" foam brushes, cups to prop up under your cabinets, 1 roll of painter's tape, and a putty knife to remove cabinet bumpers. |
 |
| Like I said above, the supplies I actually used the most were those 2" synthetic brushes and the 2 smaller paint brushes...that's it! |
 |
| How many kits to buy? For me, it took 2 small kits to paint my kitchen from dark to white. But back when I painted my cabinets from oak to dark, it only took one small kit. So see what works for your cabinets. Again for this project I got the "Light Kit" in the color: Linen. |
 |
| Here's what you'll find in the Rustoleum kit: From left to right: a DVD, the Deglosser (Wood Cleaner), 2 cans of Bond Coat (gives it the color), 1 can of Protective Top Coat, 2 cans of Decorative Glaze, Decorative glaze cloths, paint stir sticks, instruction booklet,and 2 scrub pads. |
Now that you know what supplies you need, the question you may be asking is "How long is this project going to take?" My guess is about 3-4 days. That's about how long it took me this time around and I'd say it was probably fairly close to that time when I painted my cabinets the first time. And just in case you're wondering, the 3-4 days it took me were days I didn't have to go to work. I'm a teacher and I was off for summer break. So it may take longer if you are trying to do this project while still working your 9-5! The project time may also vary based on your ability level. Where as beginners may take a little longer to complete it, those that are advanced in their painting/hardware skills may get done faster. Here's the schedule that I used for my cabinet transformation process this time around:

Follow along as I share how I did this project, here's the video format:
Day 1
Step 1: Make a map of your kitchen and label your cabinets. Here's the map I made of my kitchen and cabinets. I then assigned a number and letter to each cabinet and drawer, which helps you keep track of them all and make sure they get put back in the right place.


After that I used blue painter's tape to label the cabinet doors with the letter and number that corresponded to their location on the map.


2. Start removing cabinet hardware and remove the cabinets and drawers from the kitchen. I used a power drill for this to speed up the process. Also, when I took off the hinges and handles I had a cup set aside just for that specific door, which stayed with that door so I didn't lose any of them.


 |
| This is also a good time to remove your drawers and take off the hardware for those too. I like to set up shop for my drawers on my kitchen table. |
4. Tape off the cabinet areas inside, such as above the cabinets and on the floor so that no paint gets on the wall, ceiling or floor.


5. Start the Deglosser (aka Step 1 of the Cabinet Transformations Kit). It's a soapy solution that helps remove the protective finish on the cabinets and prepare the cabinet doors to be painted in the step that follows. For this step you'll want to wear your gloves and be sure to scrub the doors in the same direction as the grain of the wood.

 |
| Next move on to the cabinet frames and kitchen island if you have one. |
 |
| Don't forget to do this step to the drawers as well! |
*The cabinets need to dry for 1 hour before applying the next step: the Bond Coat (the color).*
6. Next apply the first coat of the Bont Coat Paint (aka Step 2 of Rustloeum Cabinet Transformations Kit). Start by painting the backs of the cabinets. Since it probably took you an hour to complete the entire deglosser step on the cabinet doors, frames and drawers...start right back with the cabinet doors or whatever you did first and start to apply the bond coat.
 |
| I put my paint in a small cup and used the 2" synthetic brush to paint the cabinet doors making sure to get all sides and watch for drips! |
 |
| My girls were eager to get started with the painting too! |
 |
| The cabinet doors after the first coat of the Bond Coat. |
 |
| Next, move inside and start the first Bond Coat on the cabinet frames and your kitchen island. |
 |
| How the kitchen looked after the first coat was completed. |
 |
| And once again...don't forget those drawers! |
Day 2
That was a busy first day of prepping the cabinets and getting that first coat on them, and for Day 2, we will do several more coats and finish up with a protective top coat.
1. Start by doing Bond Coat #2 on all surfaces.
 |
| Coat #2 of the Bond Coat. |

 |
| What the cabinet doors looked like after 2 coats. |
 |
| Then it's time to come inside and paint the cabinet frames and cabinet walls. |

 |
| And then it's time for those drawers again! |
2. Depending upon how your cabinets look, add another coat or move on to the next step. For me, since I was painting my cabinets from dark brown to white, I found that two coats just wasn't enough, I needed three. So I continued the steps listed above once again making sure to wait 2-3 hours for the surfaces to dry before painting the 3rd and final coat.
3. Apply The Protective Top Coat (I skipped the Decorative Glaze). This top coat will give a bit of shine and protection to the cabinets.


You could choose to do 2 coats of the Gloss Coat, or just one. I did one coat when I first painted my cabinets dark, and it chipped over the years, so I did two coats this time.

 |
| What it looks like after applying the Protective Top Coat. |
 |
| And last up, paint on the Protective Top Coat to the drawers as well. |
Day 3
1. Now you can pull up the tape inside the kitchen since it's completely done and start reinstalling the hardware on the drawers and putting them back in their place.


2. Next it's time to flip over the cabinet doors and start on the front side. I did 3 coats of the base coat, followed by 2 coats of the final gloss coat.

 |
| Time to paint...paint...and paint some more. Being sure to wait 2-3 hours between coats. |
3. Time for the Protective Top Coat on the fronts of the doors.
 |
Day 4
1. Now install the handles and hardware back onto the doors and then using a drill, put them back where they belong in the kitchen.

 |
| This is where that map is helpful so you know where to put everything! |
 |
| This was my favorite step because once they were back on it meant I was done! |
 |
| Here's the finished look! |
But that's not the end of my kitchen makeover this summer, I also had bamboo floors installed by Lumber Liquidators, we finally upgraded our oven and cooktop, traded out the old textured white laminate for a new marble-look laminate countertop, installed new a backsplash with Smart Tiles, converted recessed lighting for pendant lights, and I painted the barstools using Chalkworthy Antiquing paint to better match the lighter look. As you can imagine, I have videos to come on each of these projects in the upcoming weeks, so stay tuned for those! But in the meantime, here's the finished look...


One thing I did different this time was to paint not only outside the cabinets, but also inside too. I thought it would give the kitchen a more finished look instead of white cabinets and with oaky brown insides. Here's what they looked like inside before...

The only problem was that it was very time and paint consuming! It was taking 3 coats again to cover the inside of the brown cabinets. So if you don't feel like using that paint, you can try to match the paint and just use a satin or semi gloss latex paint from your local paint store.
 |
| Just as it did with the outside of the cabinet doors, it took several coats to cover the inside of my cabinets. |
 |
| Avery helped me repaint my shelves too. |
 |
| From oak to white shelves. |
 |
| I also put down new white contact paper on the shelves to protect them a bit more. |
 |
| I love how it makes the whole cabinet look much more finished than one color on the outside and a different color on the inside. |
So there you have it, how I transformed my kitchen from oak to dark and finally to white!


The author
