
Fast forward two years and here we are now and I've had a lot of requests from others who have used the kit and those who are peering from the sidelines wondering just how the cabinets have held up all this time. So today I'm going to give you an update on their current condition, how I'm touching up the wear and tear that can be seen, as well as an exciting project announcement that you can find at the end of this post.
So let's get started by taking a trip down memory lane to see what they looked like before the Cabinet Transformations Kit...

Then here they are once I completed the kit 2 years ago..

And here they are now.

As you can tell from far away they look pretty much the same, I've painted the room a light gray since then but beyond that not much has changed.
It's when you get closer that you start to see the wear and tear that has occurred.


One area that got hit the hardest was my lovely, old-school wood-trimmed countertop. This thing is up for even more of a beating because it is the most touched and bumped area in the kitchen. So if you don't have to paint this area because you're countertop doesn't have lovely wood trim be glad...it's a bit of a pain. Luckily it's fairly easy to touch up as I'll show you later on in the post.


Now some people could get upset and say this kit is cheap and worthless, but let me remind you, it only cost $75! Traditional cabinet makeovers can cost thousands of dollars and this one didn't even cost hundreds, just $75. So with that in mind, it held up pretty good in my opinion. Especially since I put off touching it up until now...2 years later.

So now that we've seen the damage, there's some good news. There are lots of areas and cabinets that look just fine after two years. Like those cabinets up high...

Or the insides of most cabinets...

I remember the painstaking process of painting each cabinet front and back and each section of the cabinet frame in my kitchen and to see that a majority of the cabinets are doing just fine after two years helps balance out the frustration you may feel about the wear and tear that is visible on the cabinets in the high traffic areas.
So with that in mind, here's an action plan to bring those worn areas back to looking fabulous once again.
1- First up, clean your cabinets. Before you start breaking out the paint to touch up your cabinets, you're going to want to clean them so you can rule out if what's on your cabinets is actually a scratch or just a little splattered oatmeal. To do this I used a rag or sponge that I got wet with warm water and a little castile soap. I then just scrubbed them until they felt smooth and mess-free.


I know I have a little nook in my cabinets where I do most of my baking that was full of spots that I thought were scratches, but really it was just food. So do your best to gently scrape, scrub, and clean off your cabinets.
2- Next it's time to step back, look at the spots that remain and start touching them up with the base coat paint from your original kit.

If you have just a few very small scratches, just use a little brush and touch up only those little scratched areas, nothing else. This will make the touch up less obvious and help you not have to add the top coat.


But if you are like me and your cabinets needed a lot of touching up, set that tiny brush aside and move onto a bigger brush, something in the small-medium size. From here just start brushing the areas where you can see that the paint has worn away.
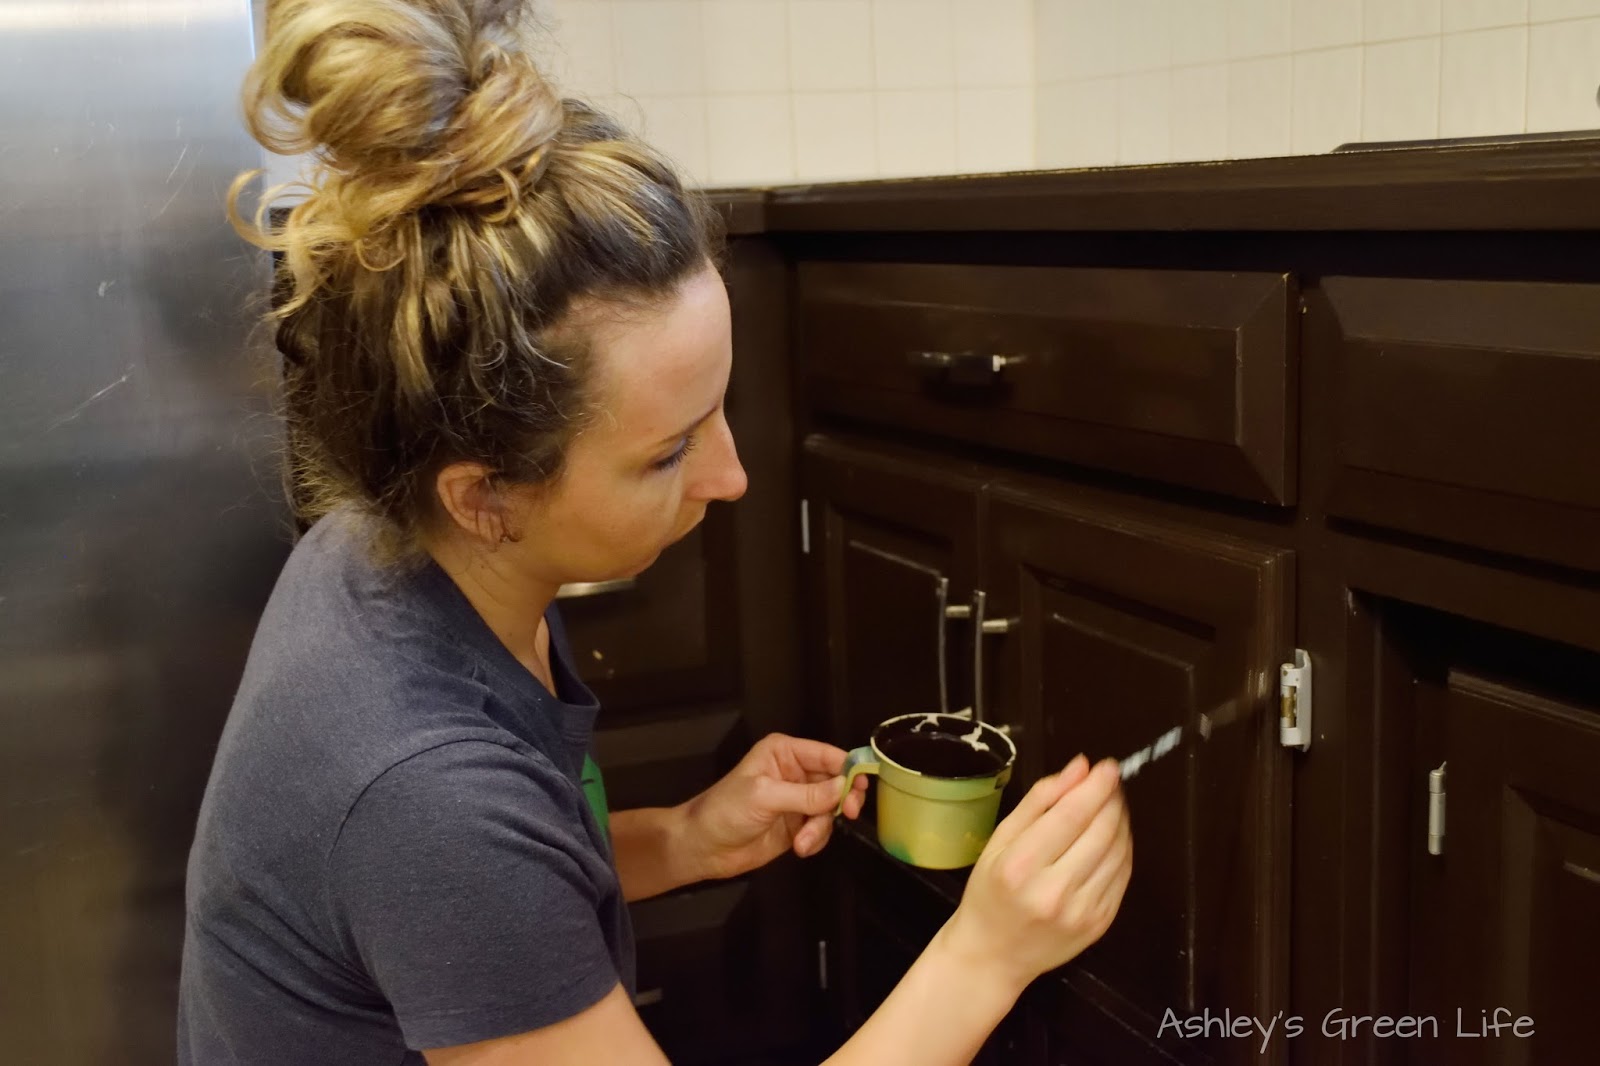
I was pretty generous with the paint in this step and applied it not only to the scratched or worn area, but to the areas close by, feel free to do as much or as little as you would like to cover these spots.
Once I did this step I was amazing at how much better the cabinets looked already. Not having to look at the worn away areas really gave the cabinets a much needed update, but we're not done yet. Continue on to finish the update.

3- Now we'll add the top coat. But before we do, let me tell you why you'll want to add the top coat. That base coat we used back in step #2 is actually a very flat paint (when it comes to it's sheen and shine) and so when you do all the touch ups of the previous step and let them dry, they will stand out like a sore thumb compared to your semigloss-looking finished cabinets. Case in point....


This would be why it's helpful to try touching up with just the little tiny brush so you don't see those big patches.
But if you do have big flat patches like my cabinets did no worries, we're just going to add the final top coat from your original kit to seal in our touch ups.

Now I was hoping this step would be as easy as the second kit and you could just apply it only to the patches I updated with the base coat...wrong! All you see when you do this are shiny patches.


So, the bad news with this step is that if there's a cabinet or cabinet wall that you did lots of touch ups on, you're going to need to repaint the entire area (cabinet or wall) with the final top coat so it is uniform in it's shine.


As you can see I was lazy when I did that final coat to some of the cabinets I touched up in how I just brushed around the hardware that I didn't feel like taking off and it still turned out great.


Now that I know how my cabinets held up after 2 years, and thinking back to when I first painted them I wonder if it would have helped to do 2 coats of the final top coat just to the outside of the cabinets in the high traffic areas? It only says to do one coat in the instructions, but I wonder if this would give the cabinets more protection than just one coat would do? Just a thought.

So now that you've got my cabinet update, I've got an exciting project announcement...I'm going to be painting them AGAIN! This time I'm going to be painting them white. Woo hoo! I'm so excited.

I've been home a little too much this summer and I've had the idea brewing for awhile to paint the cabinets again and refresh the look in there to something completely different. So just like I did the first time around, I'll be taking pictures and video to show you all just how it goes down and what it looks like once it's done.
I've got some other fun updates that will be happening in the kitchen too like new counter tops, backsplash, appliances, and flooring. Stay tuned!
Share below, have you tried the Rustoleum Cabinet Transformations kit or painted your cabinets another way? How did it hold up? Or what tips helped you when you did the kit? Last, what do you think about my switch to white? Share below.
Happy kitchen transforming...I'm off to start taping mine for makeover #2!

The author
