I’ve always loved the beauty that comes from an organized space, especially one of papers because they are known for growing out of control sometimes. But whipping them into shape, and showing them who’s boss is always a good feeling.

Years ago before I had kids, I’d spend a whole day getting my papers organized, making fancy lables, and sorting everything nice and neat in file cabinets. Fast forward a few years to now and I’ve got two kids, two jobs, and a busy household; let’s just say organizing papers is not at the top of my priorty list. So I knew I had to come up with a system that would help me stay on top of my paper organizing game and that was quick and easy to do. So today I’m going to share with you the system I’ve created and hopefully it can help you too if you feel overwhelmed with papers.

Years ago before I had kids, I’d spend a whole day getting my papers organized, making fancy lables, and sorting everything nice and neat in file cabinets. Fast forward a few years to now and I’ve got two kids, two jobs, and a busy household; let’s just say organizing papers is not at the top of my priorty list. So I knew I had to come up with a system that would help me stay on top of my paper organizing game and that was quick and easy to do. So today I’m going to share with you the system I’ve created and hopefully it can help you too if you feel overwhelmed with papers.
 |
| My updated paper organizing system. Let me share with you how I did it! |
No time for the video? No worries. Keep reading along.
Location: My papers are all stored in a “command center” as I call it, in my kitchen. Back in the day I had a large and half broken filing cabinet in my basement/office whre I would store papers. This was a good idea in theory, but the walk from my kitchen where I always opened the mail to the basement to file the item correctly whre it needed to go was way too long and it never happened. I’d end up with a pile of papers at the end of the month that needed filing and then I’d spend an hour filing them and realizing I’d missed important invations, bills, etc.
So I then switched to having it upstairs in my kitchen. I cleared out a kitchen cabinet and made room for a new command center to take place. This step has saved me a lot of time when it comes to making sure to file things in a quicker manner and I love that all the important papers I may need are just right there in the place I spend the most time.
How to store them: Binders or Boxes?
Thinking I was rocking out some A-game style organzing, I went out and bought a ton of colorful binders from Staples last year and set about to organize my papers. So I divided them by categories (health care, bank accounts, home bills, etc.) and used clear page protectors to sub-divide up the categories within the binders. In my command center I also had a tray for things that needed “action” and things that needed to be “filed” in the above mentioned binders. This was a great idea in theory, but it did not work out so well in real life.

The one flaw in the system was the time it took to file each paper item since I had to recall the category it would go in, open that binder, flip to the correct sub-category file and then file it. This process would take so long that I would skip it alothgether and just put it in the “needs to be filed tray”. But after just a week or two, that poor tray would just be bursting and overflowing with papers, so I knew it was time to switch it up once again.

After reading The Life-Changing Magic of Tidying Up by Marie Kondo I learned her perspective on paper clutter and she suggests that it has to be quick. Wherever you’re going to put it or store it, it has to be something you can do on the spot right then and there, not file it 3 days later once you have the time to find the correct sub-category in a binder.
 |
| source |
Another feature I liked of Kondo’s persepcitve on paper organization was to keep items in 3 conainters/folders that way each time you go through that folder to find something you are reminding yourself what exactly is in there, not just some long last category you never go through. That’s when I knew I was ready to swap my organized binders with subcatergories for a storage container that would have no subcatergories, and everything would be altogether…gasp!
To do this I called upon some of my favorite storage devices: cardboard magazine holders from IKEA. I used them in this post for storing photos in mementos, which really freed up some space because they store objects vertically not horizontally.

Additionally they are easy to access and store items in since they don’t have a closed lid. Even better, they are super cheap! Four for a $1. They seem to be more expensive online though if you buy from somewhere other than IKEA.

Additionally they are easy to access and store items in since they don’t have a closed lid. Even better, they are super cheap! Four for a $1. They seem to be more expensive online though if you buy from somewhere other than IKEA.
So my idea was to turn these magazine folders so that their contents could easily be accessed from the shelf and items could be put in or taken out at any time…thus solving my filing problem.
 |
| Here are the magazine folders in "demo mode". |


With this new plan in mind, I dumped my fancy binders out and did an entire paper orgianzing overhaul. I started by putting mock-magazine holders in the place of where the new categories would go and as I went through each catergory I tossed what I didn’t’ need into either recycling or my shred pile and then saved what was necessary and put that into it’s new designated spot.
 |
| Buh bye binders, here I am sorting through them all. |
 |
| While going through the binders, I had my recycling bin (yellow) close by as well as my shred box (black) too to toss any items that weren't needed. |
 |
| When going through the binders and re-filing their contents, I made temporary labels with paper until I knew for sure what I wanted the categories to be. |
Labels:
To finish out the reorganizing, I printed out new labels on my computer and glued them onto black cardstock paper. I then cut those out and taped them with packaging tape to the boxes, trying to get them all the same height if possible.


Now if you’re curious, here’s categories I have:


- Cars & Auto Insurance: This includes bills related to obviously our cars and the insurance that goes with them. Super exciting right?
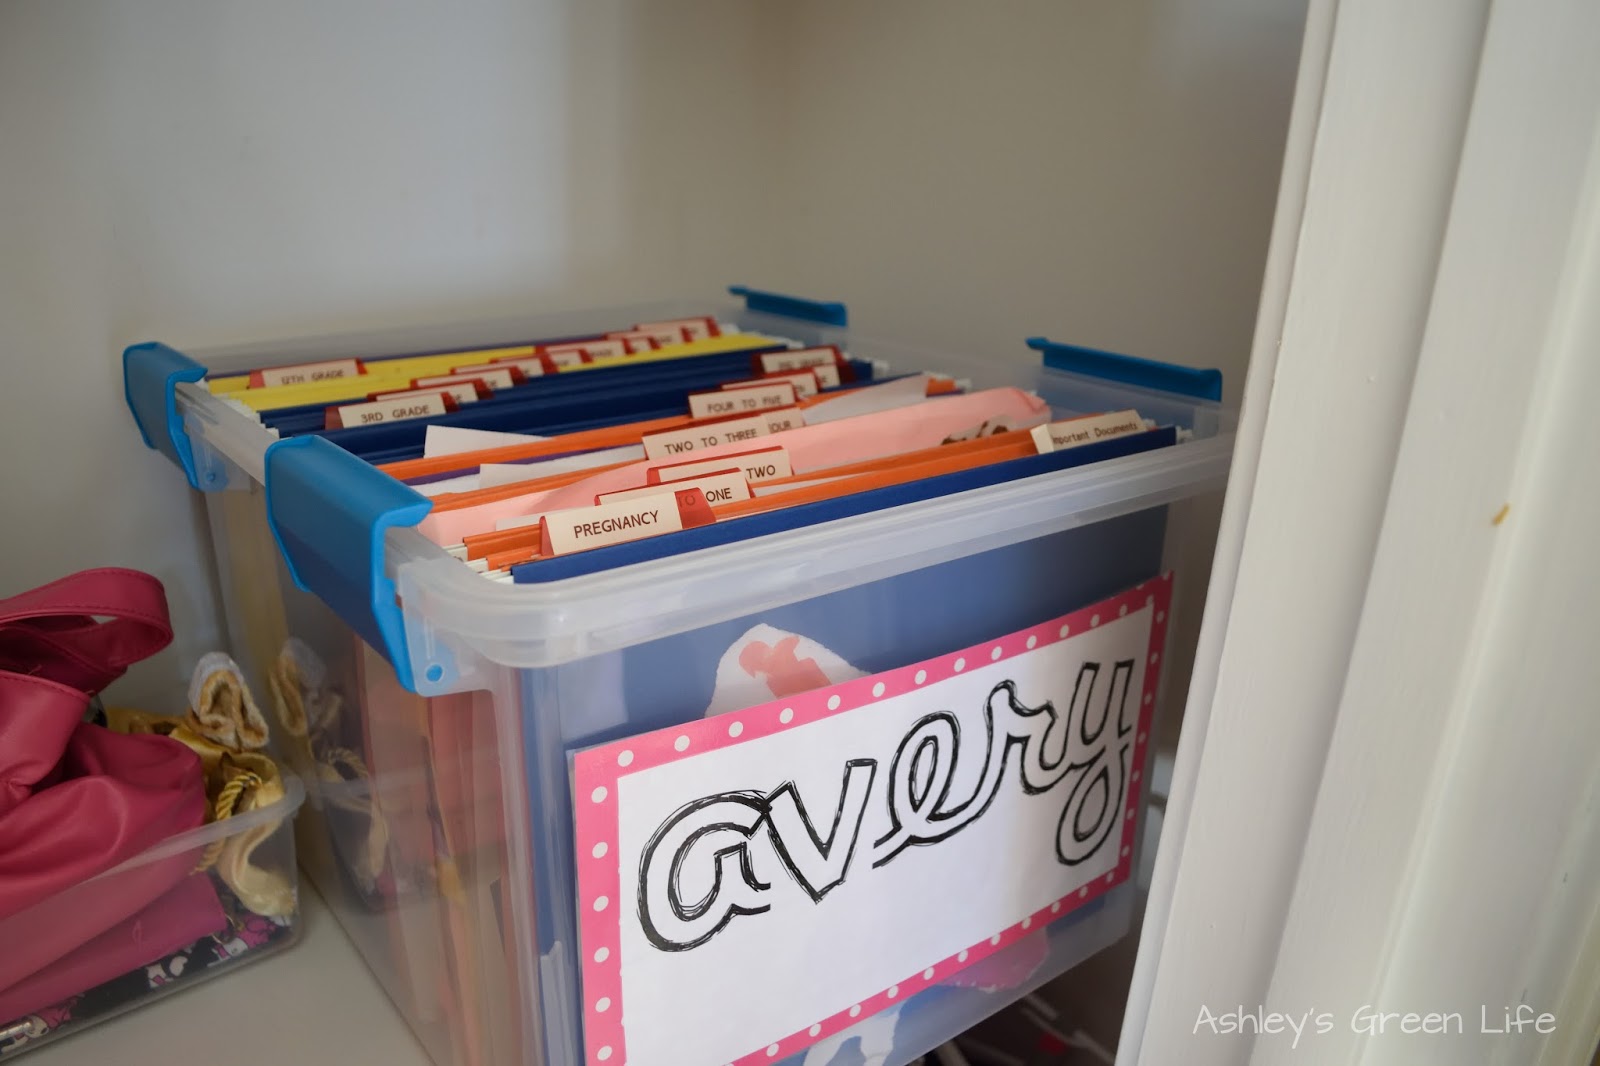
- The Girls: This one is for anything to do with the girls. Important school documents, gymnastics bills, and bills related to things they need. I do not put kid artwork here. Both girls have containers in their room organized by year where we put artwork. Since Avery's older and quite the '"art girl" she has several binders which she has filled with her artwork in addition to the container in her closet.

- Ash School & Blog: Brandon's heating and cooling job doesn't have near as many papers as my teaching job and blog, so I get my own section here for storing things such as teaching contracts, important school calendars, and other documents related to my blog and youtube channel.
- Health Care & Dogs: This is where I keep all my medical bills, health insurance documents, health savings account paperwork, and as you can tell my dogs health info too.
- Home Bills & Insurance: This is for all those misleanious utility bills like water, electric, gas, trash, cable, etc. Along with home insurance. I also keep other home service items here for businesses we've used in the past for our home (carpet cleaning, tree service, etc.).
- Bank & Retirement Accounts: This is for the documents related to all of our checking, savings and retirement accounts.
- Warranties: You guessed it, warranties is the storing place for all the warranties that belong to various household appliances and gadgets. Now despite Marie Kondo's advice to throw all instruction manuals away, I often keep them for the items that I would like to access quickly if repair was needed like a vacuum, dishwasher, etc.

Aside from these categories I have 3 trays below, these hold:


- "Needs Action": This is where I store bills to be paid, invitations that need an RSVP, or anything else that needs to be taken care of soon. Ideally it is kept empty and every time I file something, I give this tray a little glance just to make sure there's nothing I'm missing that needs action.

- Coupons & Checkbooks: I had the hardest time remembering where I kept spare checkbooks as well as coupons for stores, so I created this main spot for them. Now I know where to look when I want to save some money or spend some money.

- Office Supplies: Just some envelopes, stamps, and a personalized address stamper with our name.

I also have two boxes above where I store:

Just in case you're wondering, I keep my recycling bin and a box for items that need shredding, in a cabinet directly below this area in my kitchen too. Along with this I keep the most important documents like birth certificates, contracts to our home, and tax returns in a fire-proof safe deposit box in another location in my home. Mainly so they can stay safe and not take up space within the items I need access to more frequently.

- Pay stubs: This is mainly for my husband since he still gets paper copies of his paystubs. Mine are all electronic.
- Receipts: We toss all of our receipts in this box so that we can hold on to them if an item needs to be returned or if we want to recall what we bought. Obviously we have to clean it out now and again so it's not overflowing, but it's location works well for us.
 |
| Reciept box. |
Just in case you're wondering, I keep my recycling bin and a box for items that need shredding, in a cabinet directly below this area in my kitchen too. Along with this I keep the most important documents like birth certificates, contracts to our home, and tax returns in a fire-proof safe deposit box in another location in my home. Mainly so they can stay safe and not take up space within the items I need access to more frequently.
So there you have it, that's how I organize my papers. Since moving to this new system, I find it is so much easier to file my papers and keep them organized. I don't have to open up a binder, find the sub-category, instead I just file it quickly and easily in the magazine folder it belongs to. And if I need something that is filed away, I know exactly where to look. Even better, I don't have a massive "things to be filed" pile waiting for me week after week. I know everything is taken care of and where it needs to be.

What do you think, do you see anything you would like to try when it comes to organizing your papers? Or do you have a way that works best for you? Share below or ask any questions you may have, I'd be happy to answer them.

Happy organizing! ( :
*PS...Find out how I painted my kitchen cabinets from dark to white here!
The author
